
Planning A Project with Excel 2025

Project Documents
Download the Sample Assessment Material Set Task Brief for Task 1
This document is part of the Sample Assessment Materials provided by Pearson
Part 1: Reading and Understanding the Set Task Brief
Make sure you understand what you're being asked to do, the different tasks that need to be included in the project and the skills and experience of your project team. This is very important!
Watch the video (YouTube)


Part 2: Creating a Project Info Summary (Tab Sheet 1)
You will need to start with a blank Excel workbook, this video shows you how to create a project summary from the information you are given in the Set Task Brief. You can then use the data in these cells to produce your Gantt chart.
Watch the video (YouTube)
Part 3: Creating the Gantt Chart (Tab Sheet 2)
In this video, I'll show you a different way to create a Gantt chart in Excel. I'll also show you a few tips and tricks to create a drop down list of tasks and staff members using the Project Info Summary and how to freeze a range of cells to make scrolling easier.
Watch the video (YouTube)

Module Dependencies
The examiner will be looking at the way you organise the development of the modules in your plan. There will be modules that cannot start until other modules have been completed. For example, a module that will retrieve data from a database, such as a user interface, cannot start until after the database has been completed.
Make sure you have an understanding of what each module might involve in relation to the client's requirements.
Assigning Staff
Don't make the mistake of assigning tasks to equalise the workload. You need to assign staff members to tasks based on their skills and experience only. We don't want to see Marius, for example, doing any software tasks as he isn't qualified to do this. However, do read the staff profiles because sometimes if a member of staff has experience in software testing (even if they are a network engineer) then it would be acceptable to assign them testing tasks. Otherwise, don't do this.

Part 4: Project Costs (Tab Sheet 3)
In this video, I'll show you how to produce the Project Costs tab including how to use SUMIF to automatically calculate the total hours each member of staff has worked on the project. You also need to calculate the total cost of the solution, the annual running costs, the total additional revenue that the solution will bring and how much profit the client can expect to see after 3 years.
Watch the video (YouTube)
Part 5: Rationale
Finally, I'll show you what information you need to include in your rationale document to achieve the maximum number of marks.
Watch the video (YouTube)

Worked Examples
Download the example project plan with the Cloud Server solution (xls)
Download the example project plan with the Physical Server solution (xls)
Download an example Rationale (Cloud Server solution) - PDF
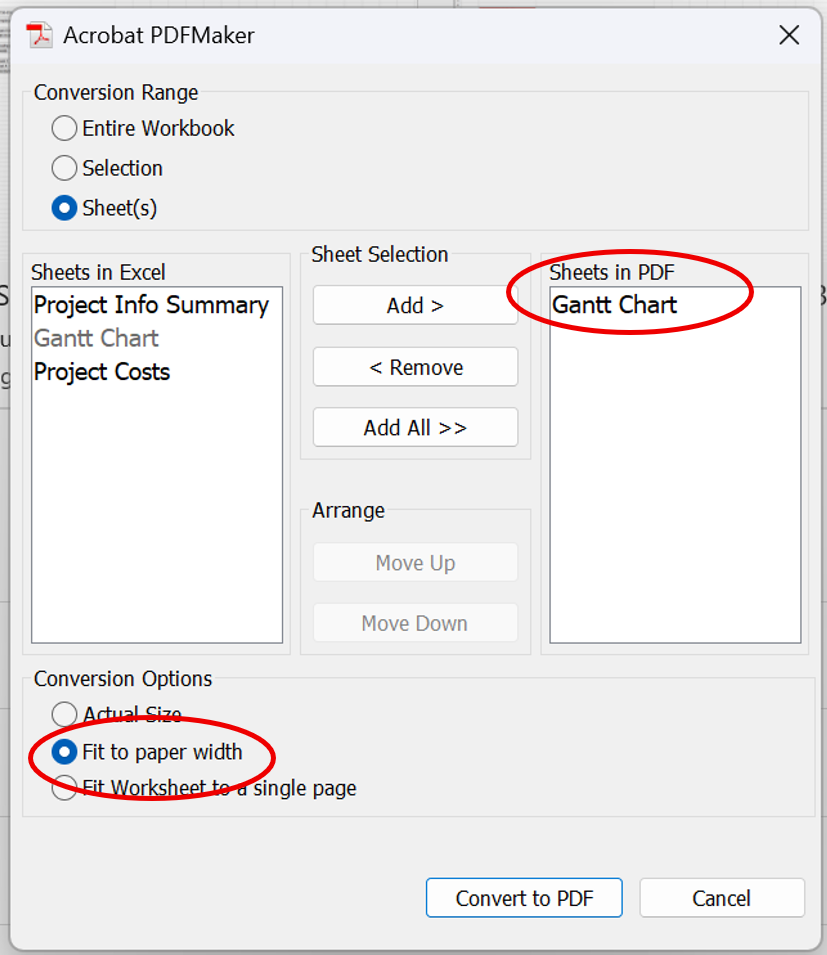
How to save your Gantt Chart as a PDF
Gantt Charts are usually quite long and spread across a landscape page. The default layout in Excel, however, is portraite. You should change the page layout to make your Gantt Chart easier to view.
Use this guide to save it as a PDF file. There are 3 different methods you can try depending on how your PC and network are set up.
Common Mistakes
(and how to avoid them)
1. DO NOT list all the tasks in the order they appear in the Set Task Brief - you WILL need to re-arrange them as some are dependent on others. For example you need to create a test plan BEFORE you do any testing. Training staff will ALWAYS be the last task you do.
2. DO NOT assign staff because they are 'free' or because you want to 'share' the work. The whole purpose of project management is to recognise the strengths and weaknesses of your project team. You cannot assign someone a task that they are not qualified to do. For example, do not assign your Network Engineer to Module Development (unless it specifically says in their bio they have programming skills).
3. DO NOT use a linear model. Tasks do not always need to wait for others to finish. For example, while your hardware/network engineer is upgrading the infrastructure, work can begin on developing the database. Otherwise you have staff sat around doing nothing. If your Senior Software Engineer is working on a module, maybe there's another task your Junior Developers can be doing.
4. DO NOT make your plan dependent on your senior staff. Your Senior Software Engineer does not need to do ALL of the work. There will be some tasks that the Junior Software Engineers can do (whether that's alone or together if you have more than 1). Your senior staff will cost you the most money and impact the costs of your project, so use them wisely.
5. DO NOT change the timings of tasks. You must stick to the estimated hours for each task that you are given in the Set Task Brief. You don't know how long each task will take until you/your team actually does them so don't make any assumptions. Software projects are notorious for running over schedule but stick to the timeframe you're given by your client - that way they're more likely to give you the contract!
6. DO NOT assign complex tasks to Juniors. If your Junior Developer has some previous experience (e.g. they've been working for the company for over a year) they can do more advanced tasks than an Apprentice or Graduate. Don't give them critical modules to work on by themselves (hint: critical modules are usually the ones that take the most time!). As a rule of thumb, tasks that are suitable for Junior Developers would be things you would be comfortable doing yourself such as creating a user interface or updating a website or social media. If you have more than 1 junior developer, have them working together - this will save you having to assign the more expensive Senior Software Developer to supervise them.
7. DO NOT assume your contractor is a cyber criminal who can't be trusted. Most contractors are self employed freelancers who only get paid for the work they do. It's in their own interests to maintain client confidentiality and do a good job, otherwise no one else would hire them! They don't need to be supervised all the time (doing this will also increase your costs!).
8. Timing of Unit Testing - you can unit test either after you have developed each module or when all modules have been developed. This MUST be carried out BEFORE integration testing as its purpose is to test the code within each module separately.
9. Timing of Integration Testing - you must have at least 2 modules developed and unit tested before any integration testing is carried out. Integration testing means testing how the module operates with other modules to make up the complete system.
10. Timing of Regression Testing - ideally this should happen after every test when you have made changes to the code. For example, during Unit Testing you might find some errors that need correcting. You would fix the errors and then carry out regression testing to check you haven't broken anything. For the purposes of the Employer Set Project, regression testing can be carried out AFTER unit and integration testing for all modules has been completed.
11. Timing of User Acceptance Testing - this is the final stage of testing where you get real users to try out your complete system. This is different to training the staff. During user acceptance testing you select a certain number of staff, usually those people who will use the new system the most, and ask them what they think of the features and the interface.
12. Deploying the modules - this should take place AFTER the module has been developed and ALL testing has been carried out and errors have been fixed. Module deployment means running the software on a live server to test how the system works in 'real life' as opposed to your sandbox testing environment.